
Deploy and Configure | Microsoft Defender for Identity
Microsoft Defender for Identity is like a superhero that keeps an eye on your domain controllers. It captures and analyzes network traffic, gets the latest Windows events directly from your domain controllers, and then looks for any sneaky attacks or threats.
Here’s how Defender for Identity works: it sits on top of Microsoft Defender XDR, and it teams up with other Microsoft services and third-party identity providers to watch the traffic coming in from your domain controllers and Active Directory servers.
Installed directly on domain controllers, AD FS, or AD CS servers, the Defender for Identity sensor accesses event logs directly from the servers. After parsing logs and network traffic, it sends only the parsed information to the Defender for Identity cloud service.
Defender for Identity components
Defender for Identity consists of the following components:
Microsoft Defender portal
The Microsoft Defender portal is like your hub for Defender for Identity. It shows you all the data Defender for Identity sensors send over, lets you keep an eye on your network, and helps you figure out what’s going on.
Defender for identity sensor
You can install Defender for Identity sensors on following products:
Domain controller
ADFS / ADCS
Microsoft Entra Connect Servers
Defender for Identity cloud service
Earlier we used to deploy the Microsoft ATA (Advanced Threat Analytics) in our on-premises environment for console management and log collection. However Microsoft Defender for Identity cloud service runs on Azure infrastructure and is currently deployed in Europe, UK, Switzerland, North America/Central America/Caribbean, Australia East, Asia, and India and purely managed by Microsoft, which we do not require to deploy anything for console and log centralisation except sensors for log shipping.
Prerequisites
- Internet access on the Domain Controllers, ADFS, ADCS servers.
You need to allow the following URLs Proxy/Firewall Access
crl.microsoft.com
cildl.windowsupdate.com
www.microsoft.com/pkiops/*
www.microsoft.com/pki/*
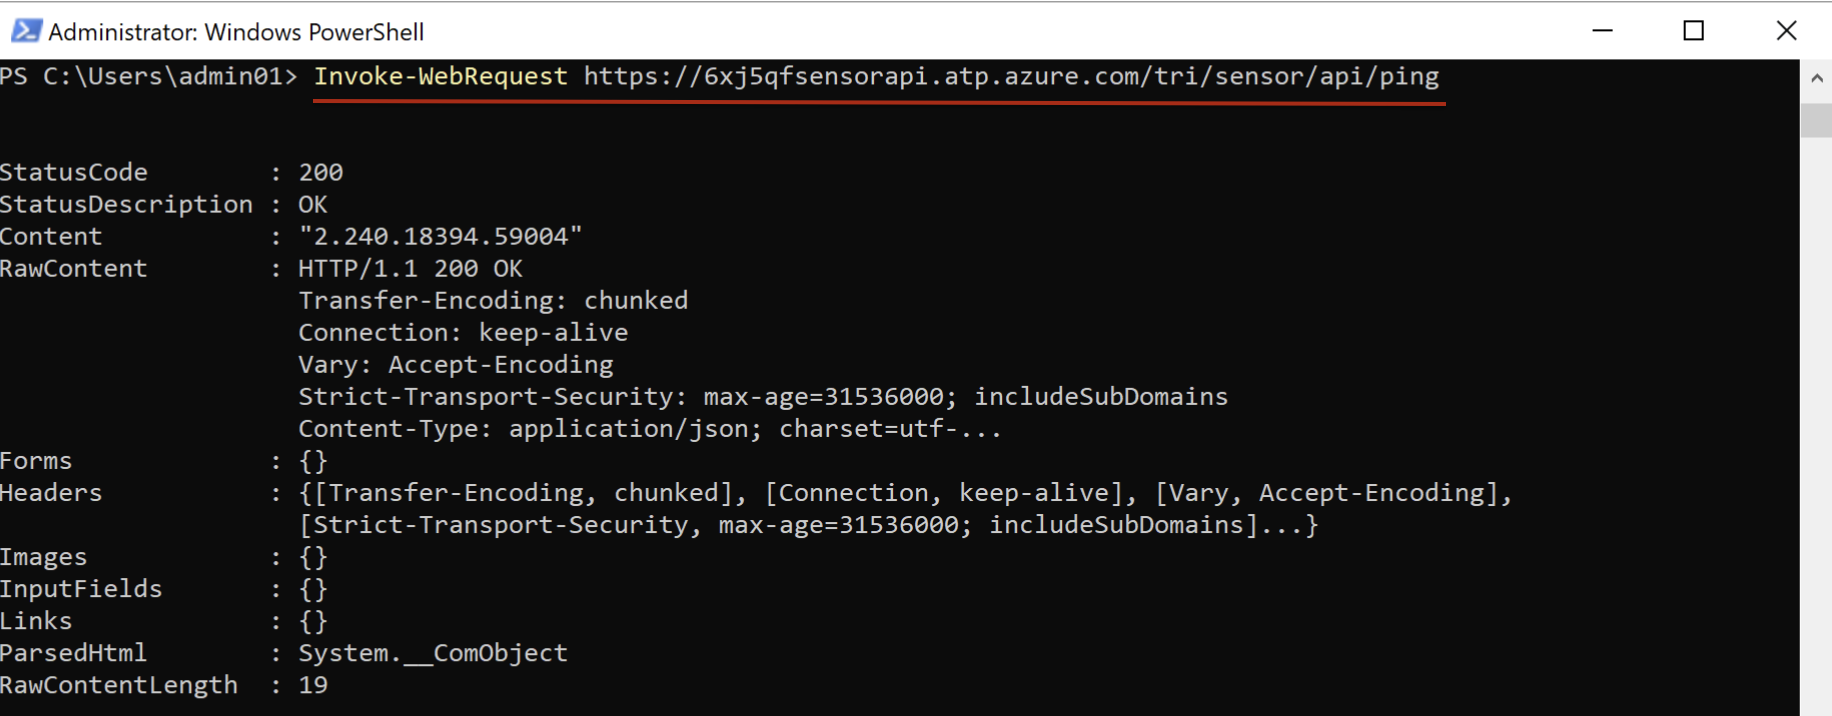
<your-sensor-name>sensorapi.atp.azure.com
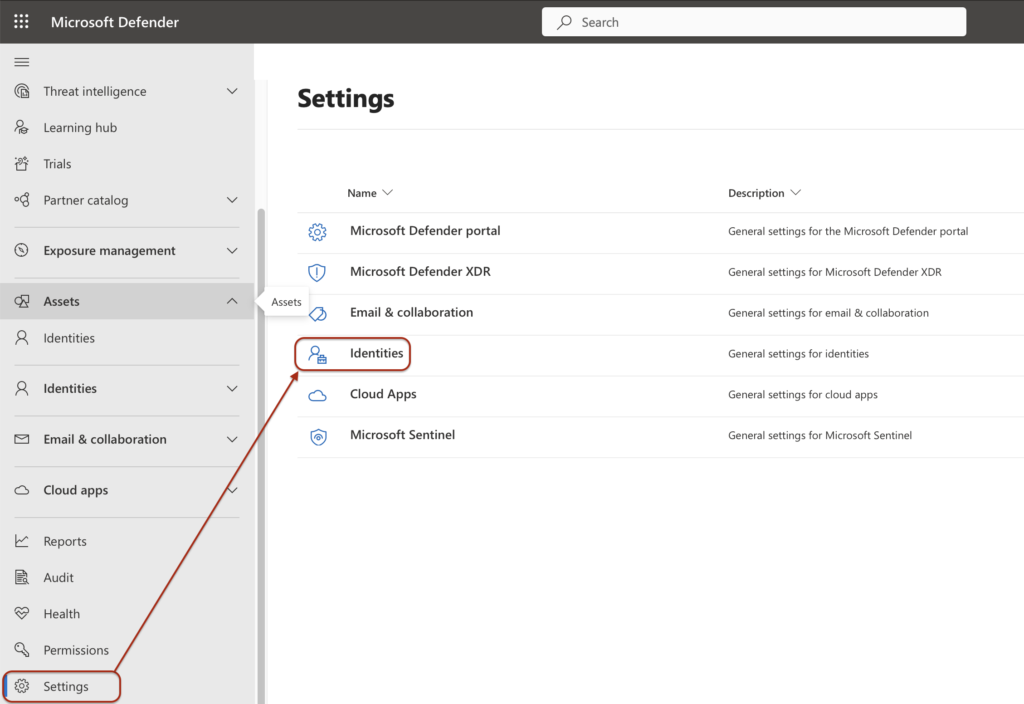
You can find your sensor name from the Identity settings.

You can run following command on the server which you planning to install the sensor to check the network connectivity towards to your workspace.
- Capacity and sizing planning
| Prerequisite / Recommendation | Description |
| Specifications | Make sure to install Defender for Identity on Windows version 2016 or higher, on a domain controller server with a minimum of: – 2 cores – 6 GB of RAM – 6 GB of disk space required, 10 GB recommended, including space for Defender for Identity binaries and logs Defender for Identity supports read-only domain controllers (RODC). |
| Performance | For optimal performance, set the Power Option of the machine running the Defender for Identity sensor to High Performance. |
| OS | Windows Server 2016 Windows Server 2019. Requires KB4487044 or a newer cumulative update. Sensors installed on Server 2019 without this update will be automatically stopped if the ntdsai.dll file version found in the system directory is older than 10.0.17763.316Windows Server 2022 Windows Server 2025 |
| Sizing planning | https://learn.microsoft.com/en-us/defender-for-identity/deploy/capacity-planning |
- Licensing
Enterprise Mobility + Security E5 (EMS E5/A5)
Microsoft 365 E5 (Microsoft E5/A5/G5)
Microsoft 365 E5/A5/G5/F5* Security
Microsoft 365 F5 Security + Compliance*
A standalone Defender for Identity license
* Both F5 licenses require Microsoft 365 F1/F3 or Office 365 F3 and Enterprise Mobility + Security E3.
- Permissions
- Recommendations for best practices
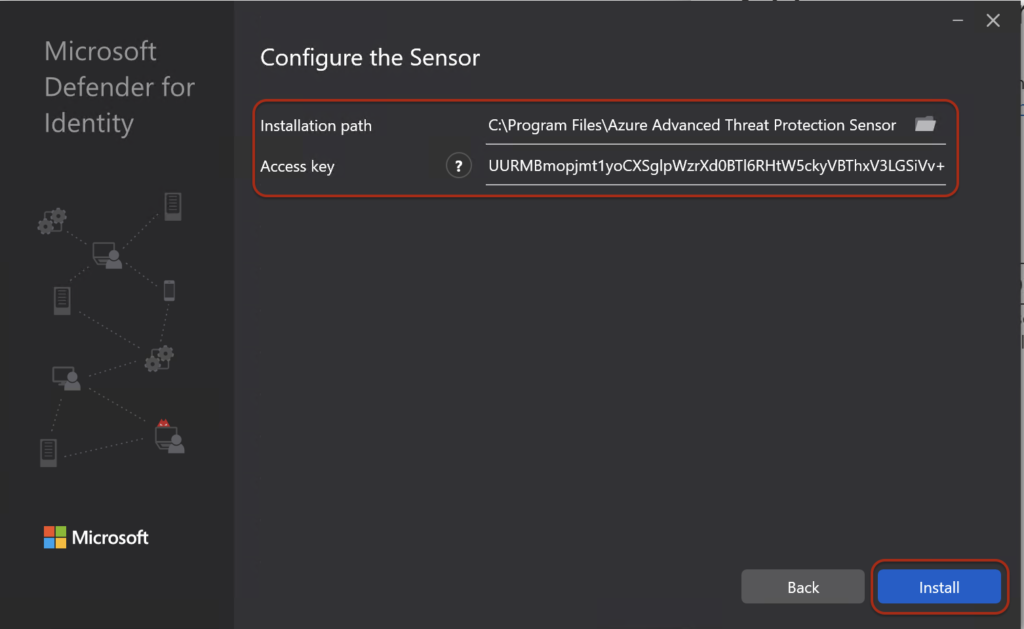
Quick Deployment

You don’t need to save the access key for future installations because it’s used only once during installation. Whenever you download the sensor for a new installation, it generates a new access key.


If you’re installing the sensor on domain controllers, you need to select the sensor option. If you’re installing the sensor on a standalone server, you need to select the standalone sensor option, also you must collect logs centrally. If you have ADFS servers where you want to install the agent, you need to select the ADFS sensor option.

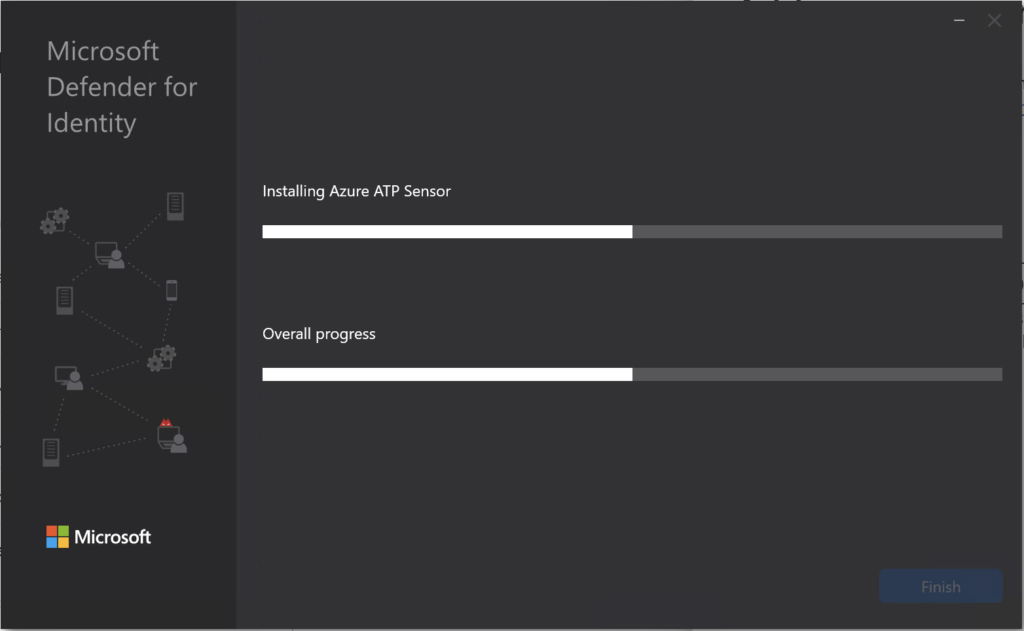
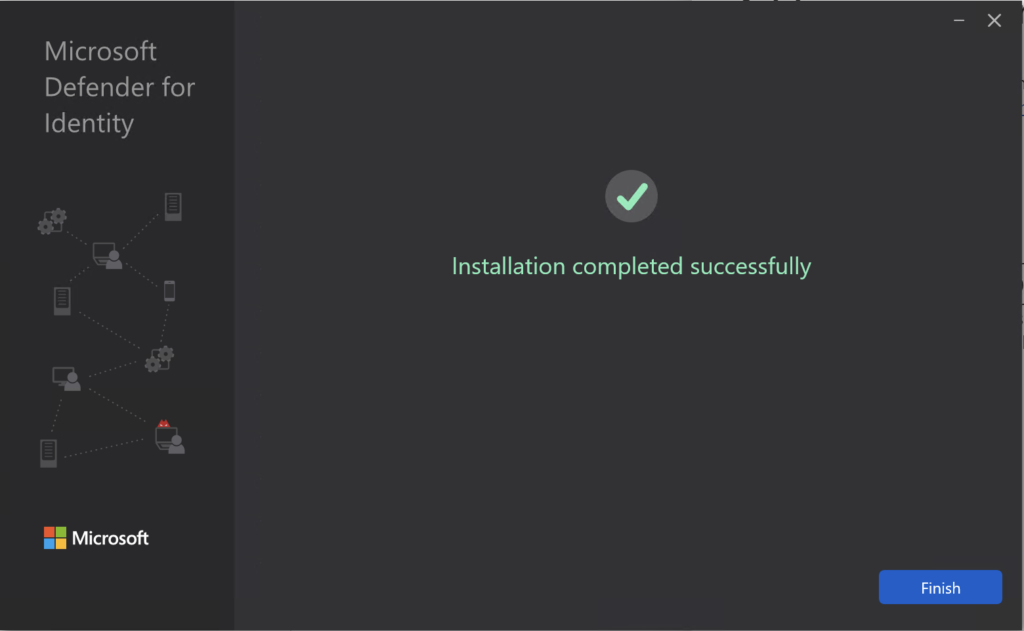
Once the installation is complete, you’ll be able to check the status of the installed server from the Dashboard. The Dashboard will also guide you through completing the post settings.

Post Installation Settings
Enable/Configure audit policies for Windows event logs by following the link step by step.
https://learn.microsoft.com/en-us/defender-for-identity/deploy/configure-windows-event-collection
Set your notifications settings to get alerts for sensor healthy and detections.

I am also sharing the Microsoft Defender Identity Ninja blog that you can find advance resources during the implementation.
Thank you.